


Whether you’re painting stripes on your RV or giving it a fresh new coat, one thing’s for certain: painting an RV exterior should vastly improve its look. If not, you’re probably making it too complicated.
Fortunately, once you master the basic steps, you’ll find that painting your RV can be as simple as painting a room in your home. We’ve broken it down into the essential tips and techniques you need to help keep the process as simple as possible.
Step One: Prepare the RV Exterior for Painting
Slap some paint on and let it dry, right? Unfortunately, even the simplest guides for painting an RV will feature a few more steps than that. The good news is, once you complete the following steps, you’ll only make the rest of the work that much easier:

- Clean and dry the surface first. Even small debris could potentially get in the way of a quality paint job. Take your time to sufficiently clean the areas you want to paint with an appropriate cleaner, like Suds.
- Take steps to adequately prepare your RV exterior , including adding blue painter’s tape to corners that you don’t want paint to end up on. This is also the time to add RV primer to ensure a consistent coating.
With these steps out of the way, grab your essential painting equipment—whichever you think will be best suited for the paint job you have in mind—and get ready to work.
Step Two: Paint!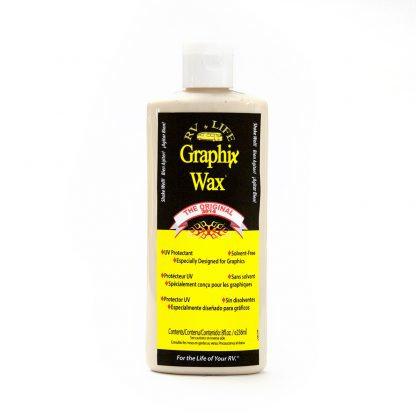

From here, the work of painting your RV is relatively easy and straight-forward. But you can still make mistakes along the way. The simplest way to ensure that your paint looks good is to avoid these silly mistakes:
- Don’t use harsh scrubbers to get rid of old paint. Chemicals and abrasives will do the most damage here. Remember that you’re trying to make things easy for a new coat of paint, not ruin your RV exterior.
- Don’t allow paint problems to go untreated for too long. Something as simple as a dead bug on your RV exterior can really set in, which only makes more work for yourself in the long run.
- Don’t paint your RV unless you have a well-ventilated, dry area to work in. If leaves are falling on your driveway or rain is in the forecast, it’s time to call the painting session off.

Allow the paint adequate time to dry in a protected area so no debris gets in the way of the paint setting. Once dry, you may want to apply a protective wax coating to preserve your hard work. Use Graphix Wax for custom graphics and LifeWax for general use
Shop RV by LIFE
![]()
![]()
To purchase the necessary products for painting an RV exterior, shop RV by LIFE!
