


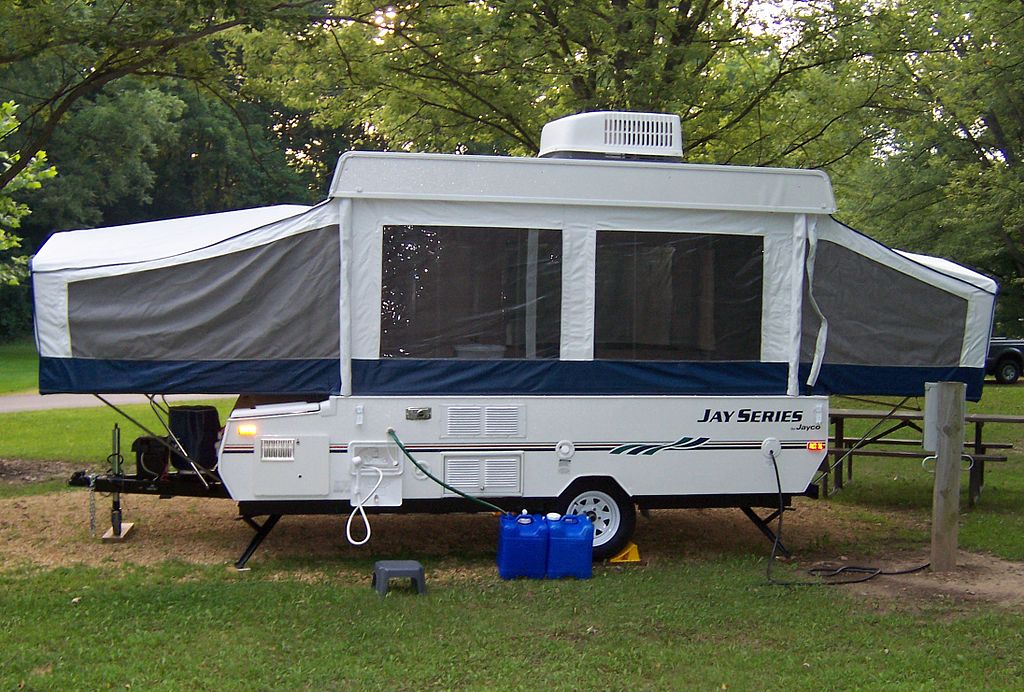
Repairing the ceiling of a pop-up camper can feel intimidating at first—but it’s actually one of the more common repairs in the world of RVing. And while it might be tempting to pay a professional to handle these issues, some repairs are simple enough to tackle on your own. They’re also a lot more affordable. Here are some tips for pop up camper ceiling repair to help you get started.
Know Your Camper Ceiling
 Before you attempt any repairs, it’s important to know what kind of damage you might have to deal with. Here are some of the most common issues for camper ceilings:
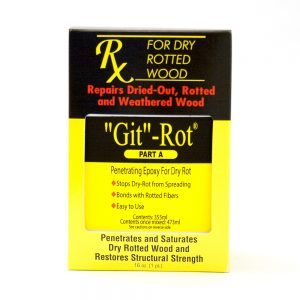
- Rotted or damaged wood. Rotted or damaged wood is a common problem. It makes most owners face a common decision: restoration or complete replacement and repair. It’s possible to restore your damaged wood if it’s suffering from dry rot, however. We recommend Git-Rot® RX for Dry Rot. This formula utilizes a two-part liquid epoxy that can restore the interior of the wood via capillary action, strengthening the fibers from the inside out. Before you use this, however, make sure that you are indeed working with dry rot. Some wood may be beyond repair, even on pop-up camper ceilings.
- Water damage. Water damage applies to more than just wood. You may have to let your ceiling dry out before you start making any repairs or cosmetic updates.
- Broken seals. Inspect the edges and seals of your camper ceiling to look for leaks. When a seal breaks along its seam, it can sometimes be hard to identify, which is why it’s important to pay attention to any water damage in the ceiling itself.
Repairing A Leaky Camper Ceiling
![]()
![]()
The best way to keep your camper ceiling in good condition is to ensure it remains waterproof. Browse our RV sealants to find the best match for your ceiling.
Once you’ve secured the right RV sealant, get your pop-up camper somewhere safe and well-ventilated. Clean out the affected area, making sure that there’s no excess debris that can get in the way of an effective seal. Remove any old sealant that has lost its strength and flexibility, and then make sure that this area is clean as well.
After that, you should be free to apply the RV sealant. Apply generously, as you can always remove some of the sealant before it cures. After giving it the proper cure time (double-check the label to make sure your sealant is cured), it should be ready to go.
More Tools To Keep Your Camper In Shape
A pop-up camper can be an enjoyable and inexpensive way to enjoy the outdoors—as long as the ceiling keeps the outdoors outside. To make sure it stays that way with a properly repaired and sealed roof, browse all our RV cleaning and maintenance products today.
