


A tight seal means you’ll have a waterproof, well-protected
RV. Anything but a tight seal and… well, you don’t want to know the damage you
sometimes risk. That’s the vital difference between an effective RV window seal
and one that’s badly in need of replacement. But how can you be sure you do a
good job when replacing that seal—and what steps might you need to take? Here’s
a brief RV window seal replacement guide to set you on the right track!
Step 1 – Remove the
screws from inside the window trim.
Before doing anything, the window itself will have to be
loose so you can effectively and safely remove it. Start by removing the screws
from the inside. It’s important to note here that it often takes two people for
an RV window seal replacement job, as you’ll need someone on either side of the
window in many steps of this process.
Step 2 – Use a paint
scraper to cut out the old adhesive.
A paint scraper is thin enough to loosen the old adhesive
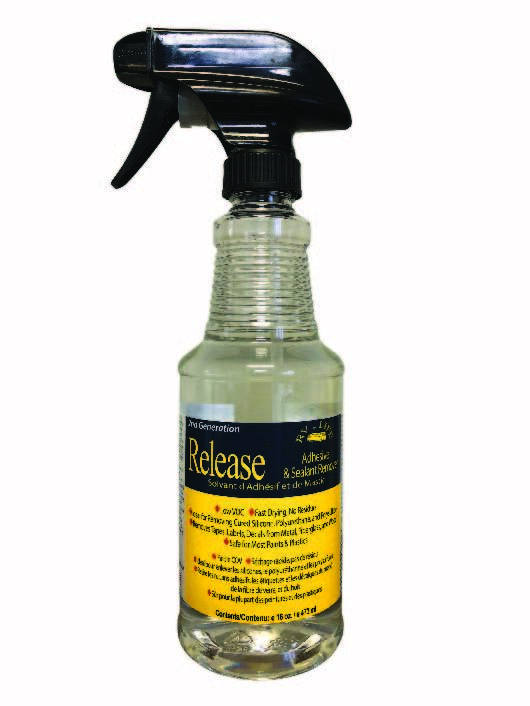
from the surface. Be careful not to scratch the RV itself. If you have some
trouble getting the old adhesive loose, you might want to consider using a
product like Release®
to ensure it comes off easily without damaging the underlying materials.
Step 3 – Carefully
pull out the window.
Once you’re confident that enough of the adhesive is loose
and will allow free movement, pull out the window. Do this carefully, taking
care to disconnect any old bonds of adhesive that may be revealed as the window
comes out.
Step 4 – Continue
removing old adhesive.
Use the paint scraper to get rid of remaining adhesive on
both the window and any that might remain on the window frame. If you need to
continue to use Release® at this step, apply it generously. It’s better to use
more Release® than you need than do any damage to the RV or the window. Take
your time here! There’s no rush. The cleaner you get the window frame and the
window itself, the more cleanly it will snap into place when it’s time to
return it to the frame.
Step 5 – Apply Butyl
tape to the edges of the window.
Butyl tape helps create a water-tight, UV-protecting seal
between the window and the window frame, without drying out the way putty can
sometimes dry out. Again, take your time. You’ll want to make sure you’re
working with clean edges without any of the remaining adhesive.
Step 6 – Re-attach
the window.
With the Butyl tape in place, have one person remain outside
as you go back inside to re-do the screws, tightening the window back into
place. Now is the time to perform the proper sealing and caulking—make sure
that you use the appropriate material for your RV’s siding (typically
fiberglass) to ensure proper adhesion.
Get Prepared
Now’s the time to match up your RV sealant with your RV. At
RV by LIFE, we offer plenty of RV caulks and sealants
available to help you effectively perform an RV window seal replacement and
ensure a tight, waterproof seal that you can depend on.
