


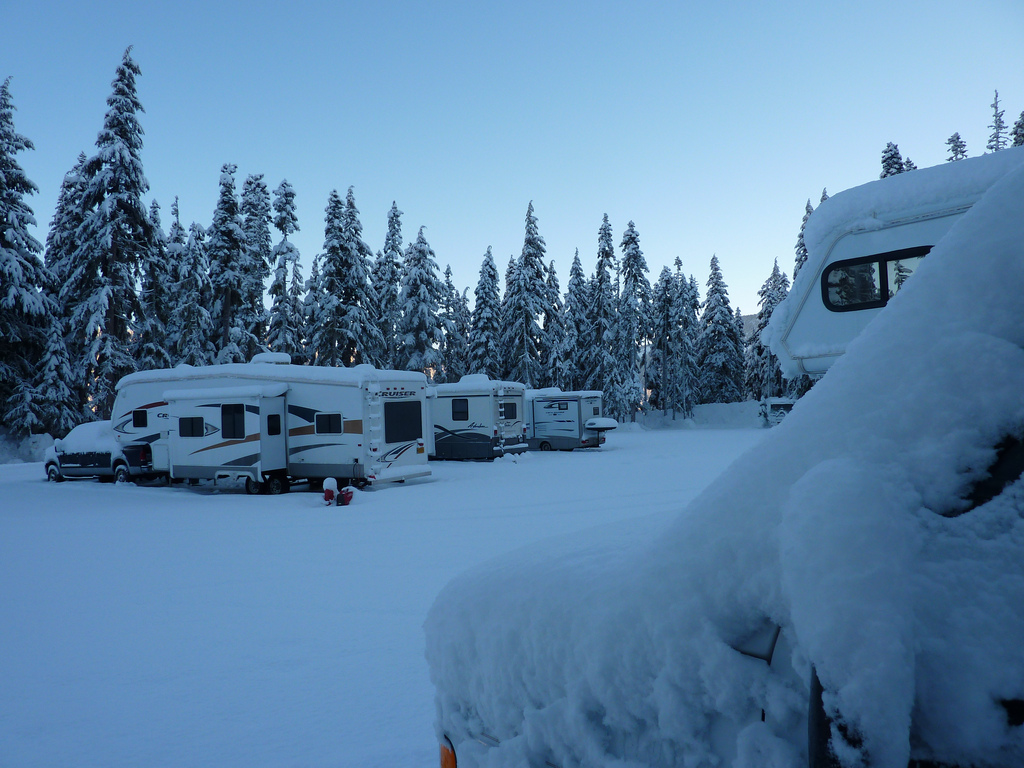
You take a lot of care to ensure your RV will have as many
quality years as possible: you keep it clean, well-maintained, and sealed for
every traveling season. But there’s always one season that can get in the way:
winter. If you don’t learn how to winterize your RV properly, you may expose it
to a lot of potential damage. But if you’re careful to take these proper steps
before every winter, you’ll return to a clean and healthy RV in the spring.
Step One: Drain and
Dry
Your RV holds a lot of water throughout the year. This first
step to winterizing your RV is to make sure this water doesn’t freeze.
- Take your RV somewhere you can drain fresh
water. You’ll need to contain grey water, however. - Completely drain any water in the fresh water
holding tank by opening the “petcock.” - Drain the black/grey water holding tanks and
flush them. Keep this water contained for a local dumping station so that you
don’t pollute any surrounding areas. - Finalize the drainage by opening cold/hot water
faucets and flushing the toilet repeatedly until the water is all gone. Don’t
forget to open the shower as well, and even the toilet valve. A rule of thumb:
the drier your RV is for winter, the better.
Some people recommend clearing out these water lines by
attaching a compressed air adapter to your water line and blowing air through
the lines before sealing the faucets and drains shut or close again.
One critical element
here: do not do any of this to
the water heater. The water heater will be its own separate step.
Step Two: The Water
Heater
For obvious reasons, the water heater is its own challenge. There
are multiple options for handling the water heater, including a water pump
conversion kit, using a hand pump, or without a bypass. Which solution you
choose will depend on your equipment. But it’s essential to have non-toxic RV
antifreeze for this step if you are not bypassing the water heater. For the
following steps, we’re assuming you’re using a water pump converter kit:
- Bypassing the water heater will allow you to use
the proper amount of antifreeze, as it will mean the water heater won’t fill up
with it. You can install a water pump converter kit as well, disconnect the
“in” or inlet side of the pump. On the other end, connecting it to RV
antifreeze will allow you to turn on the water pump. - Working from the closest faucet to the system
first, slowly open the faucets and drains again until you see antifreeze coming
through. Work out to the outermost faucets one step at a time. Open the hot
faucet first at each location, followed by the cold. Do this for all available
plumbing: showers (including outside) as well as flushing the toilet until you
see the antifreeze. - Turn off your water pump and open up a faucet
again to release any built up pressure. On the outside, where you see the inlet
for city water, take off the screen and push the valve in with a tool until—once
again—you see the antifreeze. (Afterwards, replace this screen).
This antifreeze should keep your RV plumbing safe when winter
hits. Make sure you know each of the proper steps before proceeding, and if you
don’t trust yourself, consult a professional.
Step 3: Out with the
Old
Finally, remove laundry, food, and valuable items from the
RV. Cover any remaining vents or openings with material that still allows for
some ventilation: the key is to keep out issues like rodents without promoting
the buildup of mildew.
With a properly winterized RV, you’ll be much more confident
in your vehicle come spring. Take the time to get it right and it will reward
you with better performance all year long. And it doesn’t hurt to have some
quality RV cleaning and maintenance
products to help along the way, either.
