


There are few problems more frustrating in an RV than a door seal that doesn’t work. It lets cold air get in, warm air out, and when it rains, it just makes a mess. But too many RV owners put off replacing their door seal because they’re not sure how it works. That’s why we’ve put together a few RV door seal replacement tips to help make the entire process much more intuitive.
Setting Up: Tips for Starting The Process
 The best way to ensure your RV door seal replacement goes smoothly is to start the process off on the right foot. Here are a few things you’ll need to know:
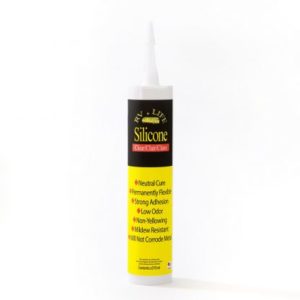
- Match the sealant to your materials. This is perhaps the single most overlooked aspect of sealing an RV door. You don’t want to take any old sealant and hope for the best. Make sure to note what material you’re working with—fiberglass, wood, etc.—and then double-check the label of your RV sealant to ensure it can handle it.
- Keep enough materials handy. You’d be surprised at how many RV owners will under-buy at this stage. True: you can always take another trip to the store. But what if you ordered your materials online? It’s better to have extra supplies on hand in case you need to do any sealing in the future than to stop your RV door seal replacement because you ran out of materials.
Measure Accurately & Match Precisely
Before you begin, you should have a clear idea of exactly what you’re dealing with: the size of the door frame and the quantity of materials you’ll need to proceed. Don’t be afraid to start removing at this step—for example, get the screen door out of the way so you’re free to step in and measure.
It doesn’t hurt to have a couple of different ways to measure, either. Tape measure and retractable tape measure are both great ways to get a precise fit.
Removing & Replacing Your Sealing Materials
Strip away any of the old, defective materials. You can use our RV cleaners to ensure that the area is then clean and ready for new installation as well. This will expose new areas of the door frame that might be ideal candidates for RV sealant.
If you’ve matched the sealant to your materials, you’ll have no problem getting the proper adhesion as you install weather stripping and insulation. And since you’ve taken the time to accurately measure your frame, you should have no problem getting the right fit, either.
Once the process is finished, consider cleaning it up to ensure that no debris gets in the way. Browse our range of RV products to ensure that your new door seal stays like new.
