


Water may be essential to our daily lives, but when it
suddenly enters your RV without permission, that’s a problem. Springing an RV
leak is every RV owner’s worst nightmare and for good reason: water damage is
an immediate threat and could also lead to long-term problems like mold or
rotting.
This simple checklist will help ensure you can repair your
RV leak with a high quality RV sealant in just a few easy steps.
Make Sure You Have the Right
RV Sealant & RV Maintenance Products
If you’re not aware what RV maintenance products you
currently have on hand, do a quick inventory. Get out all of your RV cleaning products
and RV sealants to make sure that you have each of the following:
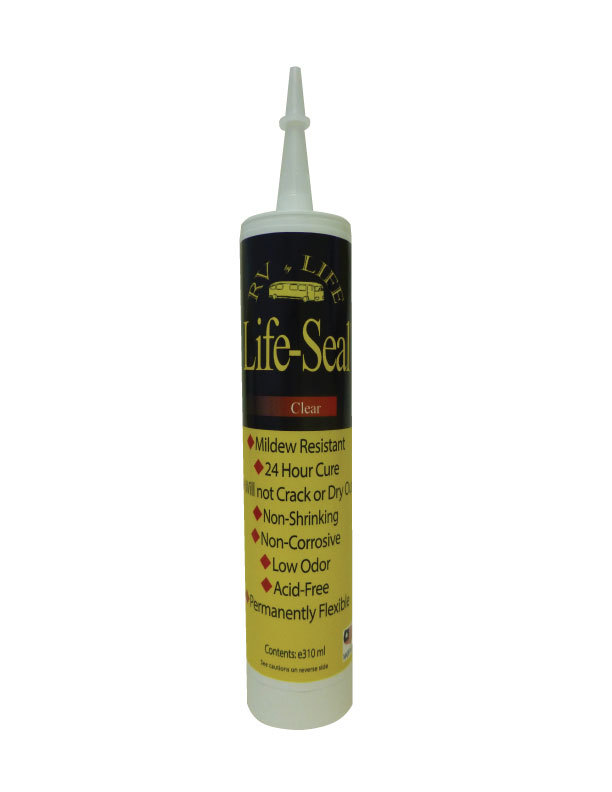
- Life-Seal® Silicone/Polyurethane Sealant
Cartridge. Formulated
specially to handle fiberglass—and your RV likely has an abundance of it—this
is a great “go-to” RV sealant for quick repairs. It also adheres to metal,
glass, wood, and other materials like Lexan®. - The Stick. At some point, you’re going to need to level or remove some of
the RV sealant. It’s cleaner and safer to use The Stick than any one of your
fingers—and more effective. - End Grain Sealer. If your RV has an abundance of wood
with lots of end grain exposed, End Grain Sealer will help prevent rot as the
result of water leaks. This might not be in your emergency RV sealant checklist, but is vital to have on hand if
your RV features a lot of wood. - A dry towel. This helps with cleaning up and
identifying the source of the RV leak. - Fiberglass repair screen (optional). This
depends on the extent of the damage to the fiberglass.
With the right equipment in hand, you’re ready to start
sealing your RV leak.
How to Seal a RV Roof
Leak
There are a few steps you’ll have to take to ensure an
optimal seal. Following this clear protocol can give you better results:
- Identify
the source of the RV leak. It might be obvious where the leak is coming
from. If so, go straight to the next step. If not, take time to dry up the
water with a towel and spot where new
water comes in, working backwards to the source. - Get your
RV somewhere dry. You’ll get the best performance out of your RV sealant
with a clean, dry RV roof. If it’s an emergency, Life-Calk® will cure in the presence of water,
which means you can take on quick repairs. - Diagnose
the extent of the leak. If you have a small crack to seal, a quick, even
coating with Life-Calk® will go a long way. If you have more damage to repair,
you might want to think about purchasing an additional fiberglass repair
screen. - Apply
evenly and allow seal to cure. Using The Stick to even out the sealant,
make sure that the base is relatively level with the rest of the roof. If you’re outside, you may want to
cover the seal so no debris falls into it.
Once sealed, your RV should be leak-free. Inspect the
interior for damage and consider a cleaner like Mildew Remover to
combat the extra moisture. And be sure to give the sealant a quick scan once in
a while to ensure that it’s holding its integrity. After that, you’ll be free
to enjoy a comfortable, leak-free RV.
