


 Leaks, dents, scratches, debris—the list of problems that can
strike your RV siding goes on and on. And since this is your first line of
defense from the elements, it pays to regularly inspect and repair your RV
siding if you want to get the most from your investment. The main problem here:
fitting the fix to the specific problem you have. In this RV siding repair
guide, we’ll take you through the different scenarios to help you find the right
solution.
Will A
Sealant Handle the Job?
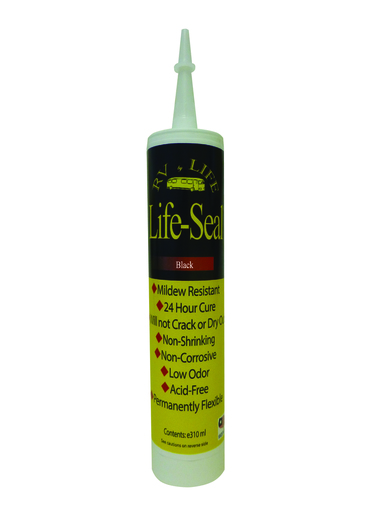
Before jumping into a full replacement, check to see if a little bit of sealant is all you need. If that’s the case, you can make very inexpensive repairs by handling this sealing yourself. Smaller problems, such as minor leaks in the corners of panels or even small scratches can be easily repaired with the proper application of RV sealants. The first step is selecting the right sealant. We offer the following products at RV by LIFE that can be used for siding repair:
- Silicone/Polyurethane: Great at
UV and temperature resistance, with a long service life and quality adhesion.
- Silicone/Polyurethane: Great at
- Polysulfide: Ideal
for locking out water, such as in high-precipitation areas or repairing leaks.
- Polysulfide: Ideal
- Rubber: Strong
against weather, cures in the presence of moisture.
How do you know which is right for your RV? It depends on your
goals and the materials you have. Even so, there’s probably a specific type of
material that stands out to you as ideal for
your particular RV siding repair needs.
RV Siding
Repair with Sealant
Once you’ve identified the right sealant, thoroughly clean out the affected
area and allow it to dry. This will make for a smoother and more comprehensive
adhesion. Load your cartridge and apply the sealant to the affected area. Using
The Stick, level
away any excess sealant and discard, giving a smooth overall appearance to the
sealant.
Your RV should be in a dry, protected area while you allow the
sealant plenty of time to cure. Be sure to check the individual curing times of
each sealant, as different materials cure at different speeds.
Once finished, clear out any remaining debris and inspect the area
again. Your RV siding should be fully repaired and ready for action.
RV Siding
Replacements
If your siding is so far beyond repair, however, you may need to
consider replacement. The first step is to determine the type of siding you
have on your RV. Some RVs use aluminum while others use fiberglass. If you’ve
never attempted anything like this before, refer to your owner’s manual for the
next steps.
When replacing aluminum siding, it’s a little easier to match your
siding with newer versions, as many types follow the same color and pattern
templates. If you’re able to find the new versions, you can remove aluminum
siding one piece at a time, using a nail gun to hold the new panels in place.
RV
Cleaning & Maintenance Products
But the story doesn’t end there: ongoing maintenance is your
priority now. Make sure to properly maintain and clean your RV siding and the
rest of your RV using all of our dedicated
cleaning and maintenance products.
