


If you’ve ever experienced paint chipping, rust, or similar
body problems on your car, you know how expensive they can be to fix. “If I’d
only taken care of it,” you figure, “I wouldn’t have had to pay through the
nose to make my car look ‘normal’ again.”
If your car has
those troubles, imagine how much more money you might expect to spend on
rejuvenating an old RV.
But even if you believe in the power of waxing to prevent
body problems like rusting, it doesn’t mean you’re going to be motivated to do
it on a regular basis. This is particularly true given just how “tricky” RVs
can be to cars. Fortunately, we’ve put together a quick “1-2-3” guide to making
sure your RV exterior is protected from oxidation, UV rays, and paint
chipping. This easy process won’t intimidate you or cause you to want to skip these protective steps altogether.
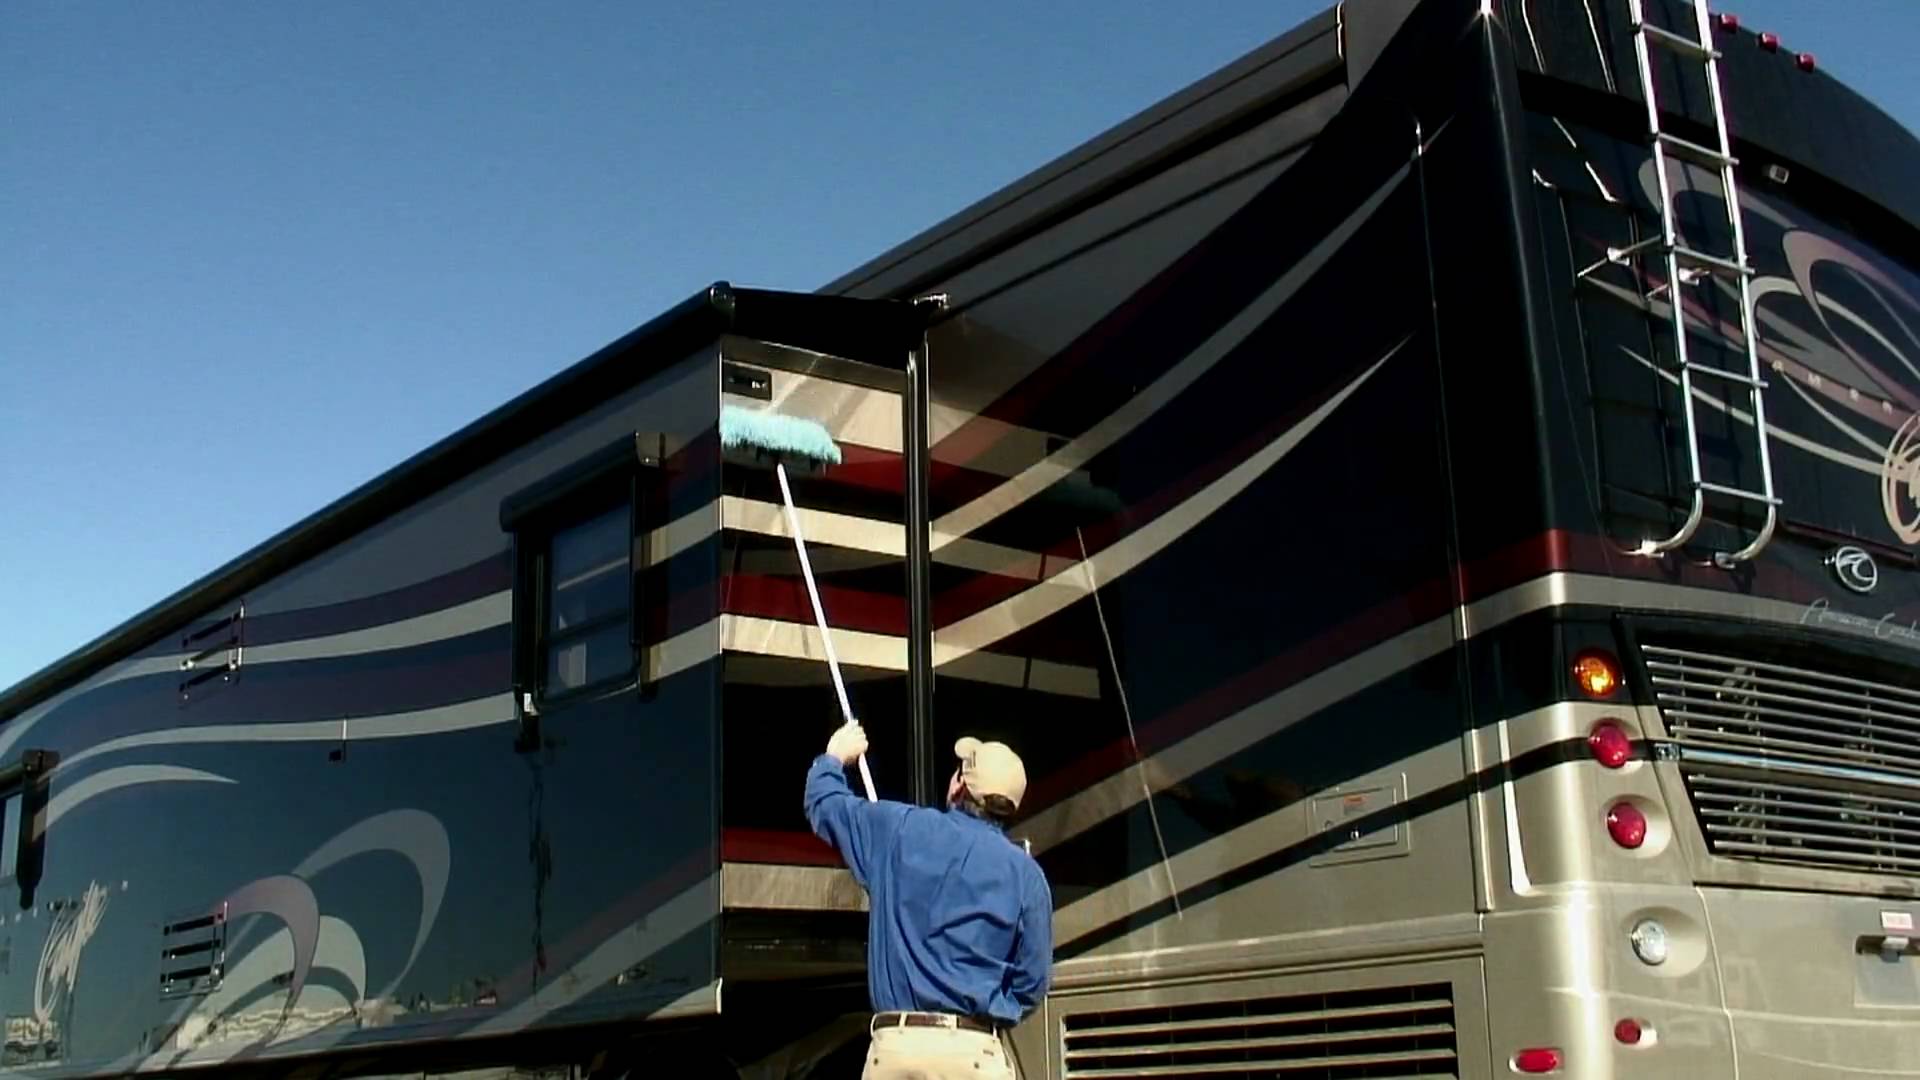
1. Clean and Dry Your
RV on a Regular Basis
Think of cleaning and drying your RV as both a short-term
and a long-term solution for some problems. It’s a short-term solution because
it eliminates debris and buildup on your RV exterior. It’s a long-term solution
because it prevents materials like bird droppings from getting in your
materials and eating away at paint.
But why clean and
dry? Getting in the habit of drying your RV won’t only help prevent moisture
buildup—and therefore rust—but it will ensure that when you need to wax your RV, you’ll be ready to do so at
a moment’s notice without any additional prep work.
2. Prepare for Waxing
You aren’t ready to wax unless you can meet a few conditions
first:
- Your RV should be cleaned and thoroughly dried
- Weather should be clear and dry—don’t wax in the
rain - You’re sure you have enough wax for a full coat
Before waxing, you might want to give your RV a quick check
for general debris and staining, especially on your fiberglass. You can apply a
FiberglassPowder Cleaner and Stain Remover for precisely this purpose. Clean and dry,
as always.
3. Break Out the Wax
and Get Buffing
Select an appropriate wax—we recommend Graphix Wax if you have a
lot of graphics on your RV—and get to work. You should be working on a uniformly
dry RV that’s already been properly cleaned, and you should try to stick with
one material at a time. For example, you might want to do the fiberglass doors
separately and apply even more wax to these areas, as fiberglass has a
reputation for absorbing more wax than does the rest of the RV exterior.
Apply the wax in large, even circles and let it sit for a
few moments before buffing off the residue. This should leave your RV with a
consistent and thorough shine that will seal off your paint and materials from
the elements.
Waxing your RV can be much like waxing a car as long as you
know a little bit about materials like fiberglass and buy the right wax for the
job. Put on some music and you have a great way to spend a lazy Saturday
afternoon—and your RV will thank you for it.
