

RV polishing may seem like a chore to some. But it also happens
to be one of the best ways to restore shine and life to your RV fiberglass. The
good news: the right RV polish can add years of life to the appearance of your
RV without it feeling like a chore. Just make sure to follow these simple RV
polishing steps.
Choose Your RV Polish
Gear
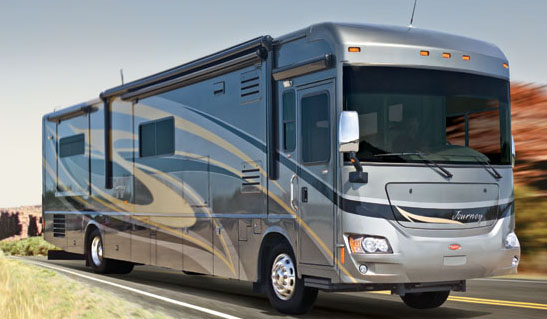
![]()

It starts with selecting the right equipment. For the
polish, we recommend Polyshine®
Premium Fiberglass & Composite Polish Pint—since most RV exteriors will
be composed of fiberglass. This is a liquid RV polish that is easy to apply,
which is critical for large RVs.
You’ll also want to review the other equipment you have
available, just to make the job easier. If you don’t have any, you might want
to pick up the following:
- A
long-handled brush. Cleaning an RV by hand alone would be a major chore
without a proper brush. While you’re at it, be sure to pick up the other essential
RV cleaning products, like a Suds
Gallon and a bucket. - A power
buffer/polisher with a wide wheel. The RV has a lot of “fiberglass real
estate” to cover, which is why you won’t want to do this by hand. If you don’t
have one, renting a buffer or polisher for the afternoon is a safe bet. - Polyshine®
Premium Fiberglass & Composite Polish Pint. Like we mentioned above,
this RV polish is specifically designed to be used on RVs. If you’re going to
do a job, make sure you’re using the right products. - Life
Wax. This is essential for protecting your RV’s exterior.
Wash Your RV with the
Right RV Cleaning Products
Using your long-handled brush and a bucket full of soapy,
Suds Gallon-influenced water, get to cleaning. The goal here is to remove as
much debris and extra material as possible so that the RV polish can interact
with the fiberglass directly.
If you haven’t stuck to an RV
Cleaning routine, you might have more work here than you’d hoped. But do
the best you can to clear the fiberglass for the polish to come. After you’re
done, let the RV dry in a sheltered area.
Apply the RV Polish
Apply a modest amount of Polyshine® to the section you’re
about to polish, and then it’s time to get buffing. Since this can sometimes be
an inexact process—especially if you have a particularly large wheel—try to
cover up any nooks and crannies such as windows that you don’t want the polish
to reach.
Watch Your Equipment
Double-check the buffer pad itself every so often to make
sure it isn’t too heavy with polish. If it is, remove the pad and give it a
quick rinse before moving on.
Make sure to pause and look at the RV itself every once in a
while, too. This will help ensure you’re giving it an even polishing. If you’re
neglecting any area in particular, give it more attention—and strive to keep
the same general slow speed as you work through the whole exterior.
Finish with a Wash
and RV Wax
The final step is a good waxing with Life Wax. Leaving this wax on won’t only provide a layer of
protectant, but will offer some respite for the fiberglass from the sun’s
harmful UV rays. If you have custom graphics on your RV, switch to Graphix Wax to ensure
that they’re well-protected.
You’ve spent the better part of an afternoon caring for your
RV exterior, but the RV polish results should well be worth it. Your RV will be
left with a clean shine that gives it more life than any washing alone ever
could.