

You’re enjoying a great day in your RV. Even though the
weather may not be great, you’re having a fantastic time—until someone notices
that water is seeping in. An RV roof leak is no joke. Left alone, it can lead
to mold, wood rot, and long-term damage that can’t be fixed without a hefty
repair bill. The key to beating leaks is to stop them as soon as you spot them.
Here’s a quick RV roof leak repair guide to help you get started.

Choose an Effective
RV Roof Sealant
In some cases, the material on your RV roof that’s leaking
might be obvious—a crack in some glass, a dent in some wood, etc. In other
cases you might have to do a little digging first. But fitting the right
sealant to the right job is worth getting right, because the ultimate quality
of your roof repair will depend on it.
It all starts with the materials you select in your roof
sealant. At RV by Life, we offer the following types of
RV roof sealants:
-
- Rubber
Sealant
—Provides a neutral cure that’s low-odor and resistant to mildew.
- Rubber
-
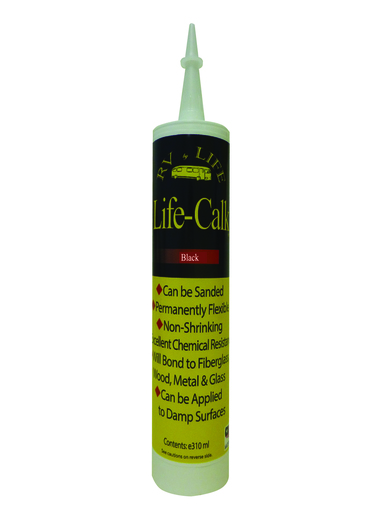
- Polysulfide
Sealant
—Flexible and bonds to multiple surfaces like fiberglass, glass,
wood, and metal. Moisture cure.
- Polysulfide
- Silicone/Polyurethane
Sealant
—Formulated specially for fiberglass, this sealant offers fast
curing and plenty of adhesion for a long-term fix.
The key in choosing your RV roof sealant is first to
consider the materials from which your roof is built. Polysulfide Sealant works
particularly well for bonding to a variety of common RV roof materials—and since
you can sand over it, it will barely leave a hint that it was ever there.
Don’t forget to pick up some additional handy tools if you
don’t have them:
the Stick
only costs a few dollars and makes smooth application a breeze!
RV Roof Leak Repair:
The Process
Now that you’ve diagnosed the roof leak and found the right
sealant for the job, it’s time to focus on the process. Here are a few essential
steps to repairing an RV roof leak effectively:
-
- Clear out any debris from the affected area and
let it dry. You’ll want to move the RV somewhere protected if there’s bad
weather.
- Clear out any debris from the affected area and
-
- Use the cartridge of the RV roof sealant you
picked out above and apply it to the area. Don’t worry about applying too much
sealant right now—you can easily scrape it off for a smooth seal.
- Use the cartridge of the RV roof sealant you
- Inspect the seal to make sure you haven’t missed
any leak points, and smooth off the area. Keep your RV parked so the seal can
then cure for the time noted on the label.
. You should now be in possession of a fully sealed roof—one that you can
enjoy even on rainy days!
Stock Up on Other RV
Supplies
The best cure for RV trouble? A little preventive
maintenance. Stock up on a full range of RV cleaning and maintenance supplies
by
shopping with RV by LIFE
today!