

Rubber is strong, elastic, and water-proof. Until it springs
a leak, that is. After that, all bets within your RV are off. You run the risk
of water damage and more. If you’ve noticed that your rubber roof needs repair,
it’s time to act. Repairing a roof can be simple and easy—but only if you know
the steps ahead of time. With that in mind, here’s a quick guide to effective
RV rubber roof repair.
Get To Know Your
Rubber Roof
Rubber is a common substance, and most of us are used to
working with it to one degree or another. But that doesn’t mean you already
know all there is to know about handling a rubber roof appropriately. Here are
some key points to consider:
- Safety.
Before you work on the roof, are you sure it is capable of handling your
weight—or do you have doubts? - Chemicals.
Cleaners with petroleum solvents or even ingredients containing citrus can do
damage to your RV roof, which is why it’s important to find those products
specifically designed to clean and handle rubber.

Which RV Sealant
Should You Use?
Head over to our list of available RV sealants and you’ll find all
sorts of products. But you don’t want to match a product to the wrong type of
roof, or vice versa. So how do you know which sealant is best for handling your
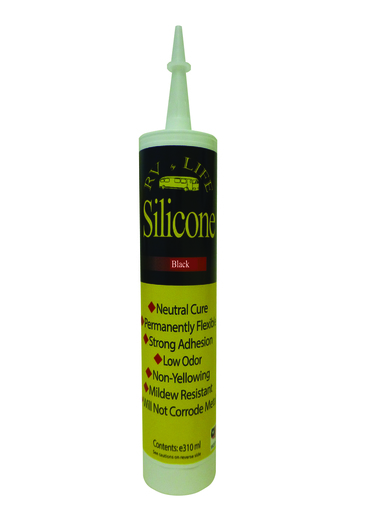
rubber roof? Look for the versatile options like Silicone
Rubber Sealant. There are other sealants that note they’re specifically
designed for fiberglass—which is great for that purpose, but not if you’re
dealing with an exclusively rubber roof.
Steps To Repair Your
Roof
Now that you have an idea about safety and the proper
materials, let’s talk about the actual process of repairing and sealing your RV
roof leak:
- Make sure your roof is somewhere it can cure.
Park it in a dry and well-ventilated area where it can sit for an extended
period of time. You don’t want to go through all of this work and have it rain
while your sealant is curing. - Clean the roof first. This includes washing,
rinsing, and drying. If you’re unsure about which cleaning materials to use,
browse our list of RV cleaners.
Suds is an especially
versatile RV cleaner. 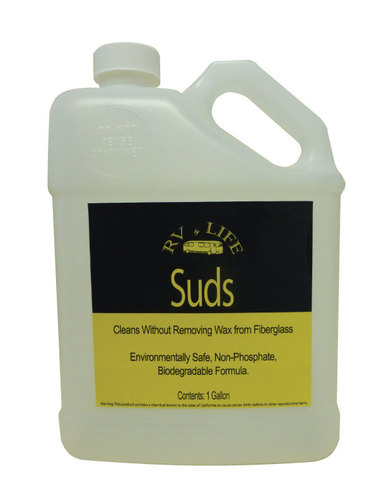
This will help ensure proper adhesion of the sealant onto the rubber surface.- Apply the sealant to the affected area. Consider
using The Stick to ensure an
even application without getting your hands dirty. - Allow the time for a proper cure. That means 24
hours when you’re working with Silicone Rubber Sealant. After that point, you
can then inspect the area to ensure that the cure was complete and that the
leak has been sealed.

Although RV rubber roof repair can be intimidating for owners
who haven’t done DIY repair for leaks just yet, the proper diagnosis of the
problem will help make sense of the process. It doesn’t hurt to use the right
materials to work with, either—so browse our RV products here at RV by Life to
make sure you have everything you need!