

Few things on earth scare RV owners more than water damage located in the wall. This damage is unsightly and can lead to more serious problems—and more costly solutions—when not addressed. The good news is that if you spot this damage quickly, you can stop it in its tracks. But that’s only possible if you know how to attack it. Here’s what you’ll need to know to repair RV water damage in the wall.
Step One: The Leak
If water has entered your RV walls, then your primary problem may not be the effect just yet. It’s the cause of all that water. Where did the water come from? Is there a leak on the outside that needs addressing? On the inside? Take your RV somewhere safe and dry, and have a look around the area. Use a flashlight—even in the daytime—so you can check out any dark areas and corners that might be suspect.
As you search for the leak, don’t forget that some leaks might appear invisible—that is, they might appear under areas, such as where the window meets the wall. Wear a pair of gloves and be prepared to give these sections a touch to see if there are any loose parts that might give you a clue. Once you’ve identified where the leak is, you’ll be able to tell whether it’s something you can patch up yourself—or if it’s an area that may need total replacement. If you caught the leak early, you should be able to patch it up yourself.
Step Two: Find The Right Sealant
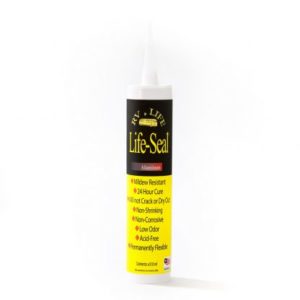

- Life Seal® Silicone/Polyurethane Sealant. Formulated especially for fiberglass but will adhere to metal, wood, Lexan®, and ABS®. This product is also available in different colors—including clear—at our RV sealants page.
- Life Calk® Polysulfide Sealant. Can be applied to damp surfaces, which is great for water leak repair. Bonds to fiberglass, wood, metal, glass, and even itself.
- Silicone Sealant. Fiberglass, plastic, metal, and wood. Often used on rubber roofs, but versatile enough for use in certain RV walls as well.
If you’re dealing with exceptionally damp surfaces, use Polysulfide Sealant to ensure proper adhesion. If you notice a leak in fiberglass, the Silicone/Polyurethane Sealant will have best results. Apply as directed on the label to repair RV water damage in the wall, and make sure that you don’t plan on using your RV for at least 24 hours. This allows time for a proper cure. You can often sand and paint on these sealants once they’ve cured—but make sure you read each individual product label first.
More Great Solutions For RV Repair
Want to ensure that your RV looks as good as new? Then continue browsing all the RV cleaning and restoration products here at RV by Life.