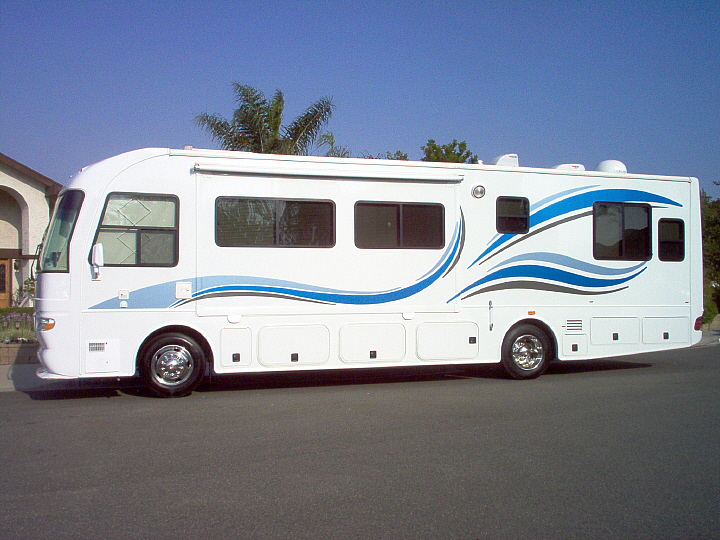
Custom graphics are one of the best
ways to make your RV feel like “your
RV.” Whether you’re adding on a business logo to ensure maximum exposure for
your company or simply want to adjust the exterior of your RV to suit your
personal tastes, nothing quite leaves an impression like quality custom
graphics.
But they’re not cheap. In fact, they
can be very expensive—especially when you don’t take care of your graphics and
end up having to pay even more to
restore, maintain, and repair them down the line.
Fixing up a few simple mistakes won’t
only help you protect your graphics, but will help you save a lot of money in
the long run—but only if you’re aware of these mistakes and vow never to make
them yourself.
Mistake #3: Buying the wrong cleaning product.
The quickest way to ensure that your
graphics get ruined is to do it yourself. You’d be amazed at how many people
pick up the first cleaner they find in the hardware store without doing any
research to see if that cleaner might be appropriate for newly-installed
graphics.
How do you know when you’re buying the
right product? Look for a cleaner or wax that clears out
debris, protects from the sun, and is explicitly labeled for use with graphics.
The words “RV” and “Cleaner” being on the bottle don’t necessarily mean the
product is great for RV graphics. Many cleaners can be hard on custom graphics,
or at the very least poor at sealing and protecting your RV graphics.
Mistake #2: Washing, Not Waxing
Simply because the exterior of your RV
is clean doesn’t mean it’s also protected. That’s the basic reason many
people turn to waxing their cars, motorcycles, and RVs. Armed with a product
like Graphix Wax,
you’ll not only seal off your custom graphics from basic elements like debris,
but you’ll have UV protection to protect your graphics from fading due to sun
damage.
Start with a wash and a thorough dry
before waxing your RV. If your RV is sufficiently clean, you can also use
Graphix Wax to clean out some basic debris and protect the graphics alone,
particularly if you’re in a bind—but it will be better for the long-term health
of your RV exterior to make a routine of thorough cleaning and waxing.
Mistake #1: Ignoring your graphics completely.
If you want your graphics to look the
best, the worst thing you can do is forget all about them. Sure, it’s important
to clean your RV interior and exterior regularly—but don’t leave it at that. Add
a coat of Graphix Wax to protect your graphics from the elements. Regularly
inspect them for chipping, rusting, and other chronic problems. Even if you
check out your RV every few months for a few moments, you’ll stand a better
chance at preventing problems before they get out of control.