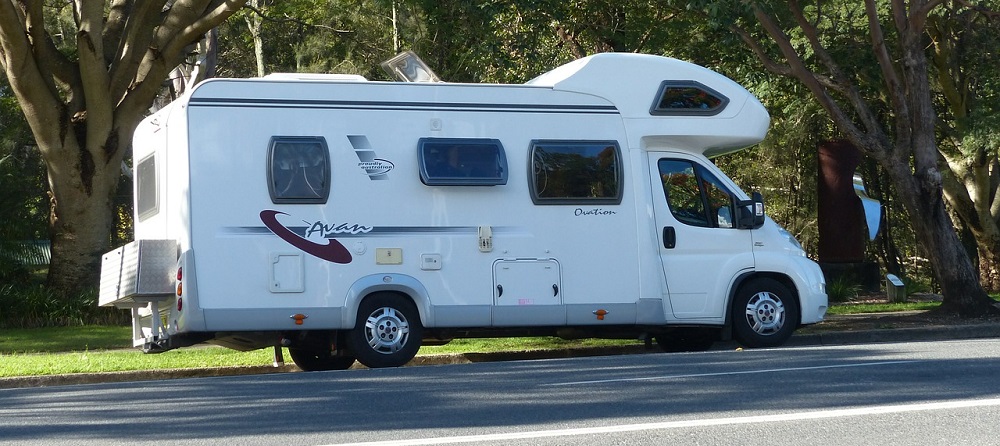
One of the great conveniences of an RV is that it gives you a moveable bathroom. No matter where you are, if you have an RV, you have comfort. But the cost of that convenience is that the RV toilet is specially designed with a toilet seal for better traveling—and sometimes, that seal fails you. Here’s how to fix an RV toilet seal.
Signs Your RV Toilet Seal Needs to Be Replaced

You can put off your RV toilet sealing for a long time, but you may eventually notice that there are some surefire signs that the seal needs replacement:
- Slow dripping is one of the sure signs. An RV toilet seal that’s slowly dripping means that water is getting through. It may be possible to patch it up at this point, but keep your eye on it to see if total replacement would work better.
- Failure to hold water for long is another sure sign. Even if you don’t hear outright dripping or even see the water, if you notice that water moves through the seal, it means that something isn’t right.
Diagnose Your Toilet
There are two kinds of RV toilets in most cases: Thetford and Dometic toilets. These are two of the main brands, and if you want your new RV toilet seal to work, you’re probably going to want to keep consistent with the toilet you have. Within these brands, there are specific models of toilets. If you can identify this, you’re off to a great start. This can be your guide for purchasing the proper replacement seal.
Replacing the Toilet Seal
With the proper toilet seal in hand, you’ll want to take on the following steps:
- Deactivate the water pump. This is because you’ll be disconnecting water lines from the toilet. Keep in mind that it’s also a good idea to have a towel handy in case there’s more water than you think.
- Disconnect the water lines. Be careful about the spilling water.
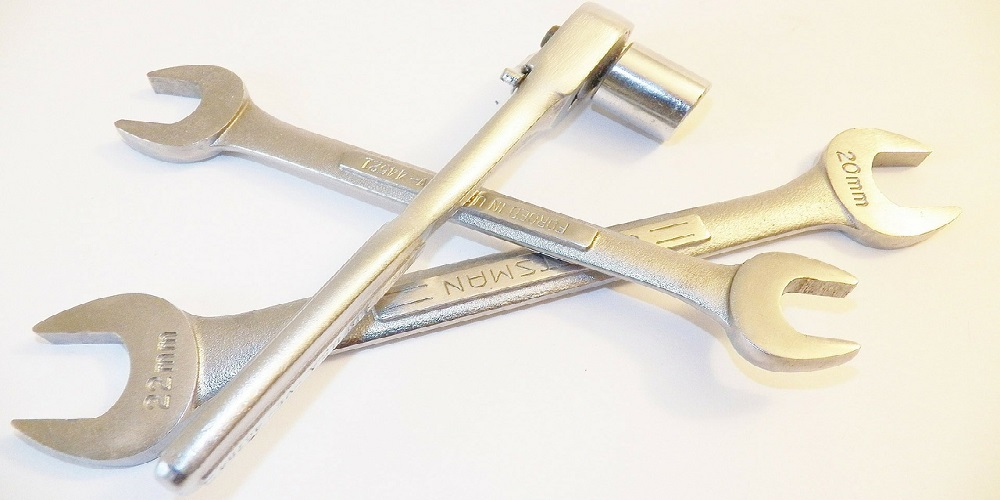
- Disassemble the toilet to get to the seal. This is different for every toilet, so we can’t tell you the specific steps here. We recommend getting the toilet loose in other areas first so you can use a socket to take out the bolts necessary for disassembling the toilet seal. Make sure that you keep your bolts in a handy place where they won’t roll away on you.
- Remove the toilet bowl.
- Remove the seal. Lifting off the bowl should expose the seal that’s about to be replaced. In many cases, you can simply pick this up with your fingers and replace it.
From there, your steps should function much like a reverse of what you just did—reattaching the bowl and reassembling the toilet in its proper place. Once again, pay special attention to the model of your toilet, just in case there are any extra steps that the model might require.
Repair with RVbyLIFE Products!
Now that you know how to fix an RV toilet seal, you need to purchase the right products for the job. Ensure your seal remains water-tight with items from RVbyLife! Browse all of the RV sealants available here at RV by LIFE.
![]()
![]()