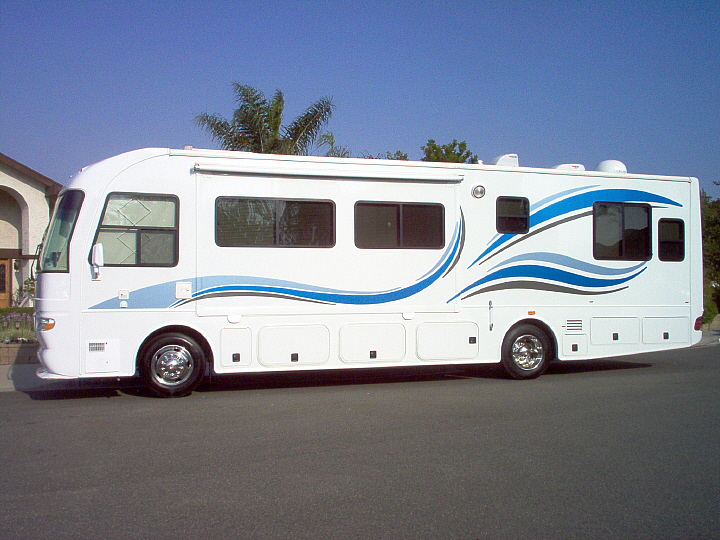
The roof membrane is one of your RV’s most important pieces.
It’s where your RV meets the rain, after all. If you want to keep the rain out,
you’ll have to make sure your membrane is in good shape. But how do you do this
if there’s extensive damage that requires an entire replacement? Here are the
key steps and a few things you’ll need to know about replacing an RV roof membrane.
Understanding RV Roof
Materials
To get a sense of what replacing an RV roof membrane will
require, it’s essential to know the basic materials first. Here are the most
common RV roof materials you’ll encounter:
- Rubber.
Rubber may be the most common RV roof material thanks to its ability to hold a
water-tight seal and its long-term durability. But rubber can also be prone to
difficult-to-identify cracking, which is why rubber roofs tend to require
visual inspection as you do your maintenance. - Aluminum.
RV roofs made from aluminum are quite rare, but also low-maintenance. In most
cases, you won’t have to deal with aluminum, but keep in mind that if you’re
looking at purchasing a used RV in need of a roof replacement, there’s a
possibility it could be aluminum. - Fiberglass.
You can tell fiberglass from rubber as it will be harder, weightier, and a
little bit rarer. And since RV fiberglass is common, you’ll likely find
that it closely matches the RV siding.
When You Need to
Replace the Roof Membrane
How can you tell the difference between needing to replace a
roof membrane and simple repairs? If you have multiple areas on the roof that
need extensive repairs, it may eventually become simpler to replace altogether.
When it’s simpler and more cost-feasible to replace the membrane, you’ll likely
want to skip the repairs and move straight to replacement.
Should you hire someone else to handle a project this
ambitious? It’s up to you. RV roof membrane replacement is more time-consuming
than repairs, but it’s entirely possible to handle it yourself with the right
materials and a little know-how.
Replacing Your RV
Roof Membrane in a Few Steps
Every roof is different, but here are the basic steps you’ll
need to understand how to replace the membrane:
- Safety.
Move your RV somewhere safe, where you’ll be free from falling debris and the
chance of precipitation as you work. - Removal.
Remove debris, the awning, associated parts, and any extraneous equipment that
might be already attached to the roof membrane. You don’t want to get two steps
into your RV roof replacement and find out there are attached parts that will
only get in the way. - Remove
the membrane itself and inspect the infrastructure underneath. Is there wood
that needs replacement? Are there parts that need to be replaced or fixed?
You won’t have many opportunities to inspect this part of your RV, so make full
use of it while it’s exposed. - Add the
new roof membrane of the appropriate type and fitting to your roof, using
the recommended adhesive strategies.
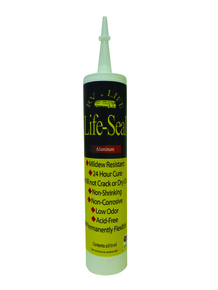
Finally, you’ll want to make sure that your new RV roof
membrane is firmly sealed. That’s where our RV sealants come in
handy. Choose the appropriate sealant to match your specific membrane type, and
you’ll be able to use the applicator to provide the tight, waterproof seals you
need. You’ll now have a fresh membrane that can seal out water and provide your
RV protection for years.