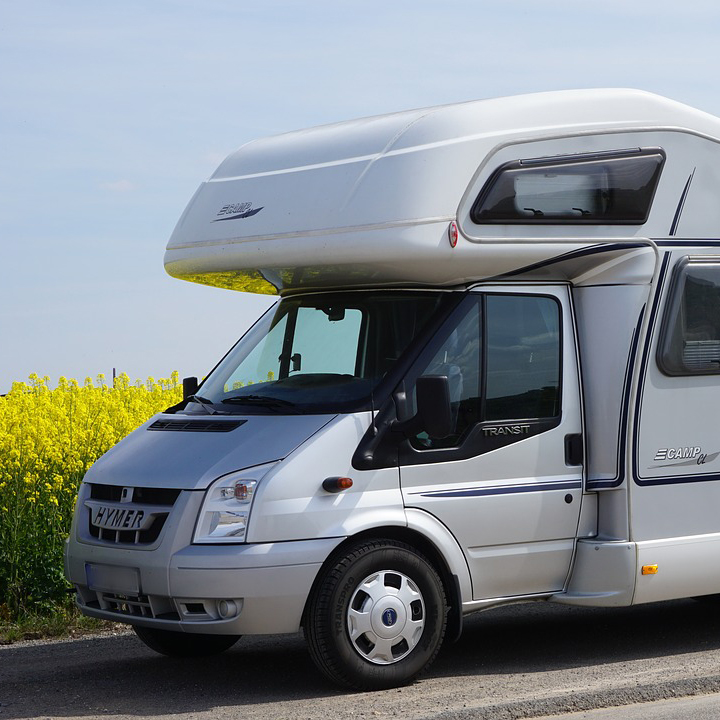
The life of your RV is dependent on the quality of its roof.
With a rubber roof intact, your RV will enjoy a water-tight seal that keeps it
free of leaks, rain damage, and other debris. But what if you notice something
on your RV’s rubber roof that needs fixing? How can you repair it without
breaking the bank? Here are a few key RV rubber roof repair tips to help you
keep your RV performing its best.
Inspecting Your RV’s
Rubber Roof
The first step to a proper repair job is diagnosis. Get your
RV to a protected, well-ventilated area so you can better inspect any damaged
areas up close. Be sure to follow all safety precautions—and always watch your
step.
You might want to have a look under your roof first to make sure there are no obvious leaks that
point to damage on your roof. Once you’re on top, inspect your roof carefully.
Keep in mind that with rubber roofs, cracks and holes can be difficult to spot
even if they allow water through. Use a flashlight to inspect those
hard-to-spot areas, and make sure not to forget any rubber joints or creases.
Once you know the extent of the damage, you face a critical
choice: whether to handle the RV rubber roof repair yourself or to hire a
professional.
DIY Rubber Roof
Repair
In many cases, you’ll notice that the damage isn’t too
extensive. You might simply have a hole or crack in the rubber that needs
sealing. How should you approach these repairs?
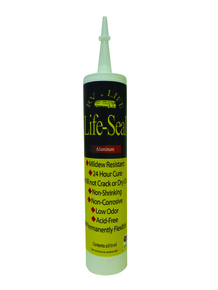
First, head over to our RV sealants collection
to find the appropriate sealant for the job. You’ll want to make sure that you
match up the sealant with your roof’s material to ensure proper adhesion.
Next, clean out the affected area, rinse it, and allow it to
dry. You want the area to be clear of debris so that you aren’t sealing in
anything that might affect the quality of your seal. The goal here, remember,
is precision. You want the seal to be firm, tight, and to cure properly. That
will ensure a watertight seal that will strengthen the resilience of your roof.
Using the cartridge applicator, apply a generous amount of sealant
to the affected area. Make sure you read the directions on the label so that
you leave enough time for the sealant to properly cure. During this time, it’s
imperative that you keep your RV somewhere well-ventilated and protected from
rain and falling debris.
Keeping Your Roof In
Top Shape
Once cured, you’ll once again have a watertight roof. But
what should you do if the damage is even more extensive than a single crack?
That might be time to consider hiring a professional. The good news is that in
most cases, you can tackle RV rubber roof repair yourself.
Simply browse the appropriate RV sealing and repair products
here at RV by LIFE and you’ll have everything you need to keep your roof water-tight.